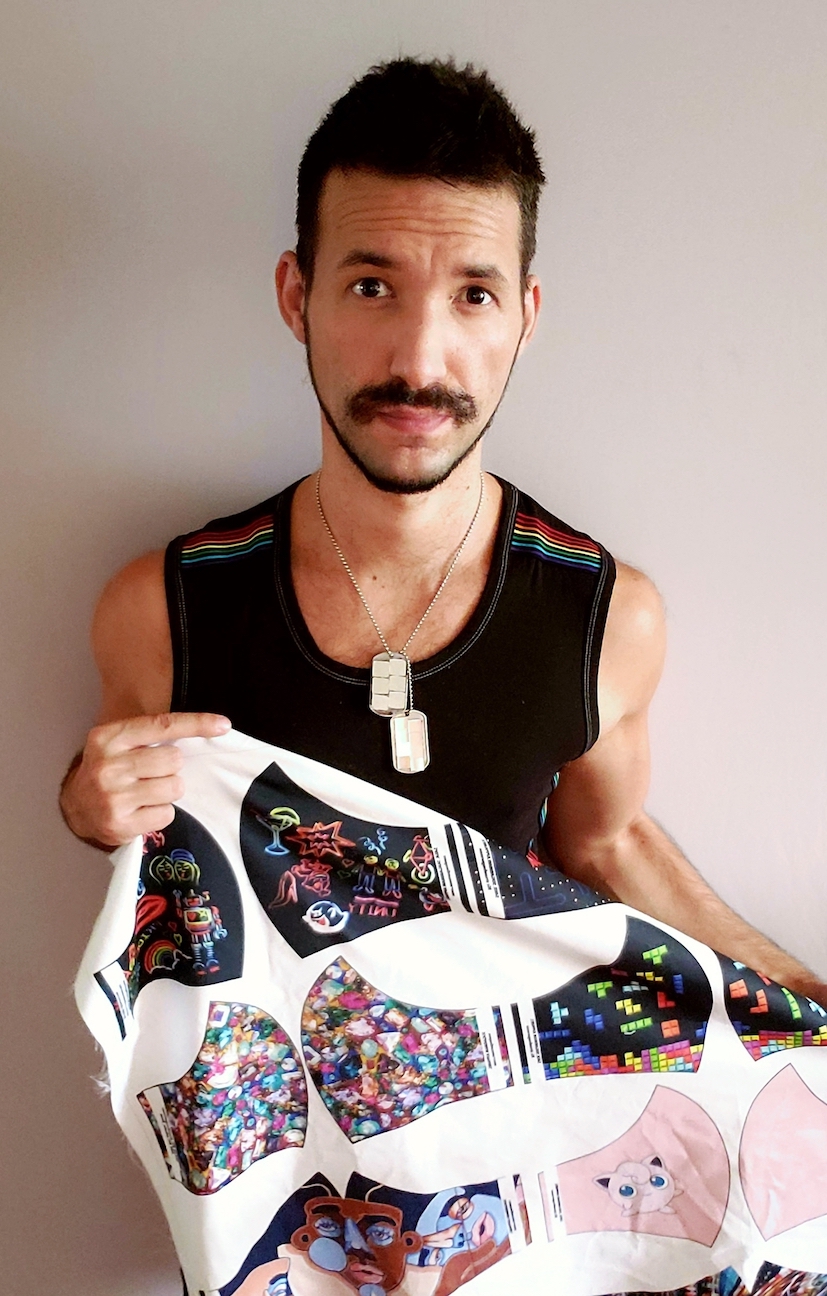
How I Made It: Custom prints
I came across custom printing, I think, when I wanted a Pac Man tank top to go along with my suit and couldn’t find the fabric. I accidentally stumbled onto Spoonflower, sort of an Etsy for fabric designers that prints a wide selection of product in the U.S. I often used others’ fabric print design uploads until I envisioned a Pikachu harness. It began as a commission for an Atlantis Cruise event this year, and then, of course, I made one for myself.
Custom prints are expensive and time consuming. You basically have to get it right the first time, or it’s about $30 each go-around to make a different sample. In addition to knowing what fabric you’ll need, you need to have the right image quality and the right scale of the image. I don’t think I’ve once fully missed the mark making a custom print, but I also think a lot of luck and planning went into that.
On the girls in Kentucky: I never learned how to make flat patterns properly or even what they were until recently, because their YouTube tutorials were a lot more basic than that. If you look up how to make a shirt, step one typically will be, “Find your favorite shirt and trace around it.” Basically what you’re doing is a flat pattern; A blueprint to re-create a shape that already exists in the world. Fashion is very iffy when it comes to intellectual property, so this isn’t really a runaway crime. Really you’re probably taking a t-shirt you love, and changing it to be much better.
I learned how to make shapes in apparel like this for a lot of years. When it came time to print my custom masks, my first thought was to make a sharpie pattern based on ones I had designed and had been using for good fit. I then took a photo of them, put them into Photoshop, and then dropped photos of the collaborating artwork into the traces I had made. The results were, to say the least, imprecise. Big. Especially for women, the darted masks did not fit most their faces.
I consulted a graphic designer friend about how to make the process better, and she suggested using the pen tool in Illustrator to trace around my sharpie drawings. This worked, and after a ton of tweaking, I had a symmetrical pattern almost the same as the ones I had found online and modified for fit. I then took those outlines and dropped artwork into them, and that’s the foundation I’ve been using for my custom printed masks. There are two designs I work with: one is “contoured” meaning it has the center seam. and is hands-down the best fit, and the other is “darted” — essentially, there’s a seam at the nose and chin, but not the middle of the mask, allowing for a more complex design to live there without interruption of stitching.
Once the designs have been dropped in, I often print them at home to see how they scale before sending off to the printer.
The printer I use now is Contrado, which apparently is based in the UK. I’ll actually update this method soon, but right now I print out 12 masks on a big sheet in a made-to-order method, which seems foreign to a lot of people. My store is **flush** with options for purchase, and that’s because I don’t have 50+ of each mask sitting around. I instead wait for orders to come in, then order the newest prints in a batch and make them then. I’m glad we are outside of March, April, even May, when the CDC orders were fresh in our minds and everyone wanted these masks now, now, now right now. Still I get the occasional “where’s my mask” question because the whole process takes time with just me.
It’s been a minute since I’ve done a “how I made it” moment, and I’ve missed them. I used to think this sort of thing is a capital secret, like some designer would come along and replicate the exact process, or you, the reader, would go out and say hey, I can do this mask myself. Well, okay, I invite you to try. It’s been a really fun learning process and I’m for sure not done. So many exciting collaborations, masks, and other apparel are approved and on the horizon for this year. I am grateful for everyone who has engaged with the art and given me the opportunity to grow and mature it.
This is part of a series called “How I Raved It” — Showing my process for making nightlife and other glitsy apparel pieces, and some nightlife adventures.
Support me on Patreon here.

Leave a Reply